Convert to PDF
JPG to PDF: The Complete Guide to Turning Images Into One Clean Document
Combine photos, scans, and screenshots into a single PDF with the right page size and order. Everything you need to know, step by step.
By David Valle
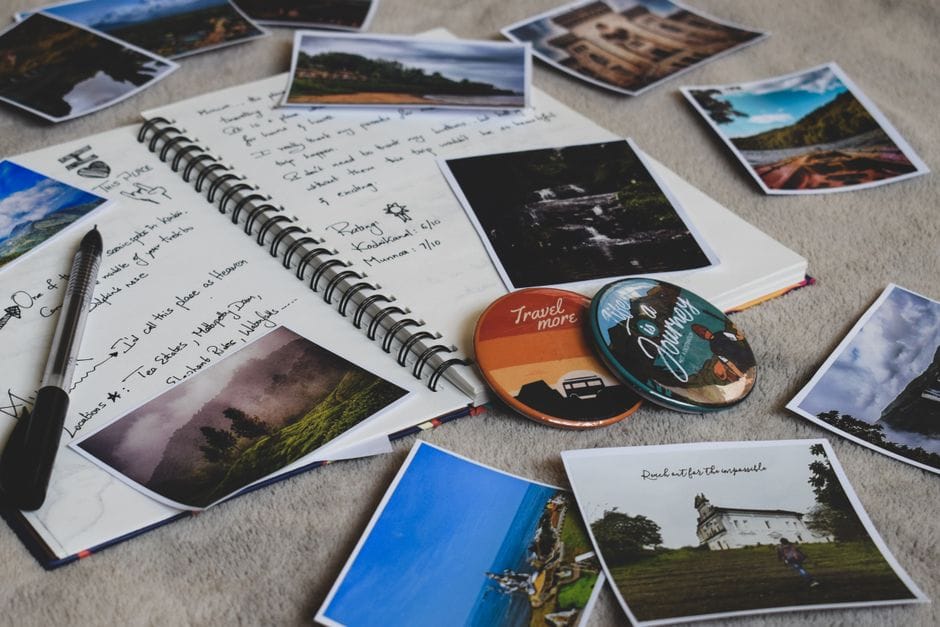
Photos of receipts, scans of certificates, screenshots of conversations, pictures of a whiteboard: sooner or later, most people need to turn a handful of images into a single document. A folder of loose pictures is awkward to send, easy to put in the wrong order, and rejected outright by many websites that only accept PDF. A single PDF fixes all three problems at once.
This guide walks through the whole process with the JPG to PDF tool: how to prepare your images, how to choose a page size, how to keep the order right, and how to keep the final file a sensible size.
Why convert images to PDF at all
There are four practical reasons people make the switch.
- One file instead of many. A single attachment is easier to email, upload, and archive than fifteen separate pictures.
- Predictable order. In a PDF, page one is page one for everyone. Image galleries and file browsers often sort in ways you did not intend.
- Universal acceptance. Application portals, government forms, and bank uploads frequently insist on PDF.
- Professional appearance. A tidy multi-page document looks more deliberate than a zip of camera photos.
What the tool accepts
Related guide: How to convert screenshots and PNG images to PDF covers the PNG side, including page size choices for screenshots.
The tool takes JPG and JPEG images. PNG images, which is what most screenshots are, have their own PNG to PDF tool that works the same way. Each run handles one format, so if you have both, make one PDF from each and join them with the merge PDF tool. You can add just one or as many as you need. Each image becomes one page of the PDF, in the sequence you choose. If your pictures are in another format, such as HEIC from a recent iPhone or WebP saved from a website, convert or re-save them as JPG or PNG first; most phones and photo apps can export in a compatible format.
Step by step
- Add your images. Select them all at once from your device, or add them in batches.
- Put them in order. Drag the images into the sequence you want, or use the arrow buttons if dragging is fiddly on a touchscreen.
- Choose a page size. You can pick fit to each image, A4, or US Letter.
- Convert to PDF and download the file.
- Open the result and scroll through it once to confirm everything is present and upright.
The whole process takes a couple of minutes, and everything runs in your browser, so the images stay on your device while they are being processed.
Choosing the right page size
The page size setting is the option people most often get wrong, so it deserves a proper explanation.
Fit to image
Each page is exactly the size of its picture, with no margin and no white space. This is the best choice when the pictures are the content itself: a photo album, a set of drawings, a comic strip, or screenshots you want to preserve exactly. The downside is that pages can be different sizes if your images differ, which looks uneven when printed.
A4
Each image is placed, centred, on a standard A4 page. This is the right choice for almost anything that will be printed or submitted in most of the world, including forms, certificates, and identity documents. Use it whenever a form asks for A4 or simply says standard size.
US Letter
The same idea, on US Letter paper. Choose this if you are submitting to a US or Canadian organisation, or printing on Letter paper.
Rule of thumb: use fit to image when the picture is the product, and A4 or US Letter when the PDF is going to be printed or filed as an official document.
Getting the order right
Order mistakes are the most common problem with image-to-PDF conversions, and they are easy to prevent.
- Rename or sort first if you can. If your files have names like IMG_0451, sorting by name usually matches the order they were taken. Adding the images in that order reduces dragging.
- Check before converting, not after. The preview thumbnails show you the order. Two seconds here saves a re-do.
- Think about the reader. A multi-page form should run front to back; a set of receipts is often best in date order.
If you get it wrong anyway, you do not need to start over. Use the rearrange PDF tool to drag the pages into the correct sequence, and rotate any that came out sideways.
Quality: what really happens to your images
Related guide: PNG or JPG to PDF: which image type should you use? compares sharpness and file size.
A common worry is that converting to PDF will make pictures blurry. In this tool, the image data is placed into the PDF as it is; the conversion does not recompress or resize the picture itself. That means the PDF looks exactly as good as the original image did, and no better. If a photo was blurry or dark before conversion, it will still be blurry or dark afterward.
That makes source quality the thing to focus on:
- Take photos in even light, without shadows falling across the page.
- Hold the camera directly above the paper, not at an angle.
- Fill the frame with the page so text is large and readable.
- Avoid flash glare on glossy paper.

Keeping the file size manageable
Because images keep their original data, a PDF made from ten high-resolution phone photos can easily be many megabytes. That is a problem when a form limits you to 2 MB or an email server rejects large attachments. There are three ways to shrink the result.
- Reduce the images before converting. Fewer pixels means a smaller PDF, but do this only if the images are larger than they need to be.
- Compress the finished PDF. The compress PDF tool offers High, Medium, and Express levels, plus a target file size mode where you enter a size like 800 KB or 2 MB.
- Leave out pages that are not needed, which is often the easiest saving of all.
For detailed strategies, see how to compress a PDF without losing quality.
Real-world examples
Job or admission applications
Applicants often need to upload a photo of a certificate or ID as a PDF. Photograph each document clearly, convert with A4 as the page size, check that the text is readable at full size, and compress if the portal has a limit. A more detailed walk-through is in our guide to converting a scanned image into an admission form PDF.
Receipts and expenses
Snap each receipt, add them in date order, and convert with fit to image so no receipt is cropped or padded. One PDF per expense report is far easier for an accounts team to handle than a stack of pictures.
Handwritten notes and whiteboards
Photograph each page or board section, use fit to image, and you have a shareable record of a meeting or class. If a page is sideways, fix it with the rotate PDF tool.
Combining images with existing PDFs
Sometimes you need a photographed page to sit inside a longer PDF. Convert the images into their own PDF first, then use the merge PDF tool to combine the two documents in the order you want. Our guide to merging PDFs on a phone covers the mobile workflow. To place images at an exact spot inside a longer PDF, such as after page 7, the Insert PDF Pages tool accepts JPG and PNG images directly, with each image becoming one A4 page.
Common mistakes to avoid
- Converting sideways images without checking. If a photo was taken in landscape but should be portrait, rotate the resulting page afterward.
- Using fit to image for a form. A form that expects A4 will look wrong, or be rejected, if pages are different sizes.
- Forgetting to check readability. Zoom in on small text in the finished PDF. If you cannot read it, the recipient will not be able to either.
- Uploading huge photos when a limit applies. Check the size requirement first, so you know whether compression will be needed.
- Sending the wrong version. Keep the original images, but give the final PDF a clear name so it is easy to identify.
Can the PDF be turned back into images?
Yes. The PDF to JPG tool converts pages back into JPG images, and the PDF to PNG tool does the same for PNG images, so the process works in both directions. That is useful if you built a PDF and later need one of its pages as a picture for a presentation or website.
Privacy
Personal documents are exactly what people convert most often: IDs, bank statements, medical letters. Because this conversion runs in your browser, the files are processed on your own device rather than being uploaded to a server first. For details on how the site handles data more generally, read the privacy policy.
Frequently asked questions
How many images can I put in one PDF?
You can add as many as you like. The practical limit is the memory of your device, so very large batches of high-resolution photos may take longer to process.
Will the PDF have selectable text?
No. The pages are pictures, so the text in them cannot be selected or searched. If you need searchable text, you would need OCR software, which is a separate kind of tool.
Can I mix portrait and landscape images?
Yes. With fit to image, each page matches its picture. With A4 or US Letter, each picture is placed on the standard page.
Does converting reduce image quality?
No. The image data is placed into the PDF as it is, so the pictures look the same as they did before.
What if the order is wrong after converting?
Open the PDF in the rearrange tool and drag the pages into the right sequence. Nothing needs to be re-photographed.
Turning images into a PDF is one of the quickest wins in everyday document handling. Prepare clear photos, choose a page size that matches where the file is going, check the order, and you will have a professional-looking document in a couple of minutes.
Related articles
Similar articles
 Convert to PDFHow to Convert a Scanned Image to PDF for an Admission Form
 Convert to PDFHow to Convert Multiple JPG Images Into One PDF
 Convert to PDFHow to Convert Word, JPG, and Images to PDF
 Convert to PDFHow to Convert a Word Document to PDF Without Losing Formatting
 Convert to PDFHow to Convert Screenshots and PNG Images to PDF