Convert to PDF
From Phone Photo to Perfect PDF: A Step-by-Step Scanning Workflow
You do not need a scanner. Turn phone photos of paperwork into a clean, ordered, correctly sized PDF in six simple steps.
By David Valle
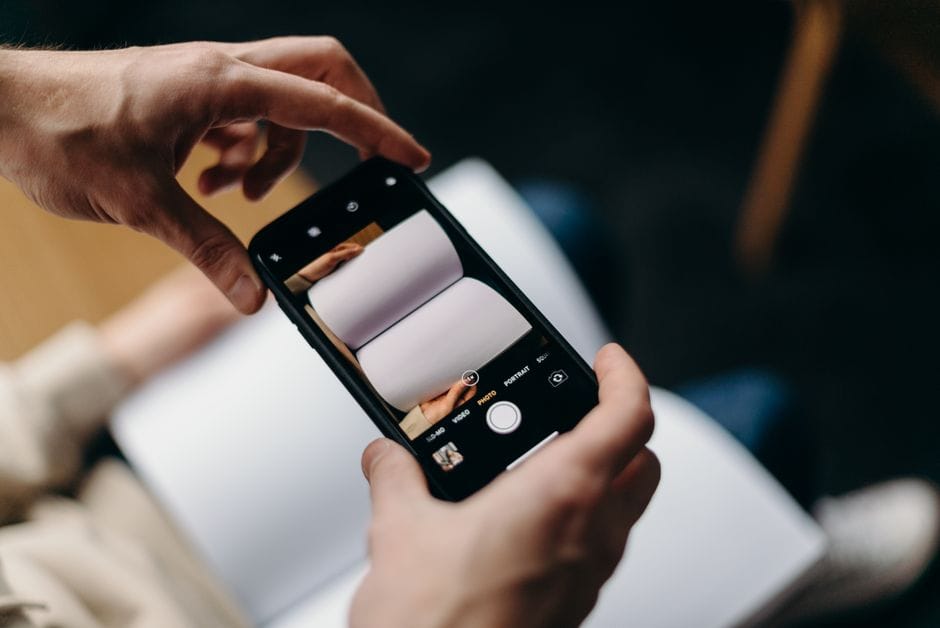
A dedicated scanner is a wonderful thing, but most people do not own one, and almost everyone owns a phone with a very good camera. With a sensible routine, phone photos can become clean, professional-looking PDFs that pass the checks of application portals, banks, and offices. The trick is not any single tool; it is doing the steps in the right order.
This guide lays out a six-step workflow: shoot, convert, rotate, reorder, compress, and check. It uses the JPG to PDF, rotate PDF, rearrange PDF, and compress PDF tools, all of which run in your browser.
Why a workflow beats improvising
Most poor results come from doing things in a muddled order: compressing before fixing rotation, merging before checking readability, or discovering the wrong page order after the file has been sent. A fixed sequence avoids rework. Each step fixes one kind of problem, and later steps assume the earlier ones are done.
Step 1: Shoot clean photos
Everything downstream depends on the quality of your pictures, and it is much easier to take a good photo than to rescue a bad one.
- Use even light. Daylight from a window works well. Avoid a strong lamp that creates a hot spot.
- Prevent shadows. Do not let your phone or hand cast a shadow over the page.
- Hold the phone directly above the paper, parallel to the surface, so the page is not skewed.
- Put the page on a plain, contrasting surface, such as a dark table under white paper.
- Fill the frame with the page, but keep all four edges visible.
- Tap the screen to focus on the text and wait for it to sharpen before shooting.
- Turn off flash on glossy paper to avoid glare.
Take one photo per page, in reading order. Photographing in order is the single best way to avoid ordering problems later.
Step 2: Check your photos before moving on
Open each picture at full size and zoom in on the smallest text. If any word is blurry or cut off, retake it now. It takes seconds at this point and is far more annoying to fix after you have built and sent a PDF. Delete duplicates and test shots so only the pages you need remain.
Step 3: Convert the photos to a PDF
Open the JPG to PDF tool, add your photos, and arrange them in order. The important choice is page size.
- Choose A4 or US Letter for forms, certificates, and official documents. The image is centred on a standard page, which is what most portals expect.
- Choose fit to image only when the pictures are the content, such as photos you want preserved exactly.
Convert and download. Because the tool places your image data into the PDF as it is, the PDF looks as good as the photos you took. For more detail on page sizes and image order, see our complete guide to JPG to PDF.
Step 4: Fix rotation
Phones sometimes save a photo with an orientation flag instead of physically turning it, and different programs treat that flag differently. The result is that some pages can end up sideways in the PDF even though they looked upright on your phone.
Scroll through the PDF. If any page is sideways or upside down, open the rotate PDF tool, select those pages, and turn them. An upside-down page needs two 90-degree turns in the same direction. Download the corrected file. Rotation only changes orientation; it does not affect quality.
Tip: check the first and last pages carefully. They are the ones most often skipped when scanning quickly, and the ones a reviewer looks at first.
Step 5: Fix page order
Related guide: if one photo turned out badly, how to replace a page in a PDF swaps in a retake without rebuilding the whole file.
If you photographed in order, this step may be unnecessary, but it is worth a quick look. Open the rearrange PDF tool if any page is out of place. Drag thumbnails into position, or use the arrow buttons on each page, which are often more precise on a small touchscreen. There is also a rotate button on each thumbnail, so you can fix a sideways page and reposition it in one pass.
Need to bring in pages from other files? Combine them using the merge PDF tool, and read our guide on merging PDFs in order on a phone for a mobile-friendly approach.
Step 6: Compress if needed, then check
Phone photos are large, and a PDF made from a dozen of them can easily be many megabytes. If the file is going somewhere with a size limit, compress it now, not earlier, so that rotation and ordering happen on the full-quality version.
Open the compress PDF tool and choose an automatic level, or use target file size if you know the limit. Medium is a sensible starting point. Then open the result and zoom in on the smallest text. If it is still readable at normal zoom, you are done. If not, go back to the uncompressed file and choose a gentler level.
Our guide to meeting PDF file size limits explains how to approach very tight limits.
The final check: a two-minute review
Before sending, do a last read-through.
- Page count. Does it match the number of pages you expect?
- Order. Do the pages read correctly from first to last?
- Orientation. Is every page upright?
- Readability. Can you read the smallest text at normal zoom?
- Completeness. Are all edges of each page visible and nothing cut off?
- File name. Does it clearly say what the document is?
- Size. Is it under any limit that applies?
Special cases
Multi-page forms with signatures
Sign the paper first, photograph the signed pages in order, and convert. If a signature page is scanned separately, add it to the right position afterwards using the rearrange tool.
Identity documents
Photograph both sides if required, in the order the recipient expects. Include only what is asked for. Keep the originals safe, and if a portal offers a secure upload, use it in preference to email.
Receipts and small pieces of paper
Place them on a plain background, one per photo, or lay several out clearly if separate images are not needed. Choose fit to image so nothing is padded or cropped in a way that hides detail.
Book pages and thick documents
Press the pages flat, avoid the curved spine shadow, and shoot straight down. If a page still looks curved, retake it from directly above.
Mistakes worth avoiding
- Shooting at an angle, which skews text and makes the page look trapezoid.
- Compressing too early, which can lock in lower quality before you have finished editing.
- Skipping the zoom check on readability.
- Forgetting the order until after sending.
- Mixing portrait and landscape pages without checking the result.
- Sending the wrong file because several similar versions exist on your phone.
A note on privacy
Paperwork tends to be personal: IDs, statements, medical letters. The tools above run in your browser, so your photos and the resulting PDF are processed on your own device rather than being sent to a server first. It is still wise to delete leftover copies from shared devices, and to send documents only through channels you trust. Our privacy overview, are online PDF tools safe?, explains how to check this yourself.
Frequently asked questions
Do I need a scanning app?
Not necessarily. A good photo taken with your normal camera is enough for most purposes, and the workflow above turns it into a proper PDF. Scanning apps can help with edge detection, but they are optional.
Will the text in my PDF be searchable?
No. The pages are pictures, so the text cannot be selected or searched. That requires OCR, which is a separate kind of software.
What page size should I use?
Use A4 or US Letter for official documents, depending on where they are going. Use fit to image when the picture itself is the content.
How can I keep the file small?
Photograph clearly but do not use unnecessarily huge resolution, remove unneeded pages, and compress at the end.
What if a page is sideways?
Use the rotate tool, then check every page again before sending.
A phone, a window, and a few minutes are all you need. Shoot carefully, convert, fix rotation, fix order, compress only at the end, and check before you send. Follow that order every time and your phone-made PDFs will look as good as anything from a scanner.
Related articles
Similar articles
 Convert to PDFHow to Convert a Scanned Image to PDF for an Admission Form
 Optimize PDFHow to Compress a PDF for a Job Application Upload
 Organize PDFHow to Merge PDF Files in Order on Your Phone
 Convert to PDFHow to Convert a Word Document to PDF Without Losing Formatting
 Convert to PDFHow to Convert Screenshots and PNG Images to PDF